Since the moment we got married and my house became our house, we knew we wanted to extend our patio. But there’s just something about owning two homes, working your hiney off to get one ready to sell, and having 9 months of two mortgages that can kill your appetite for a big project. So instead we sat on our existing back porch and dreamed up what we would do someday to make our backyard our little dream spot.
And then one day we saved enough money, Mr. Right made a few phone calls, and a few days later we had our new patio! I’m in love.
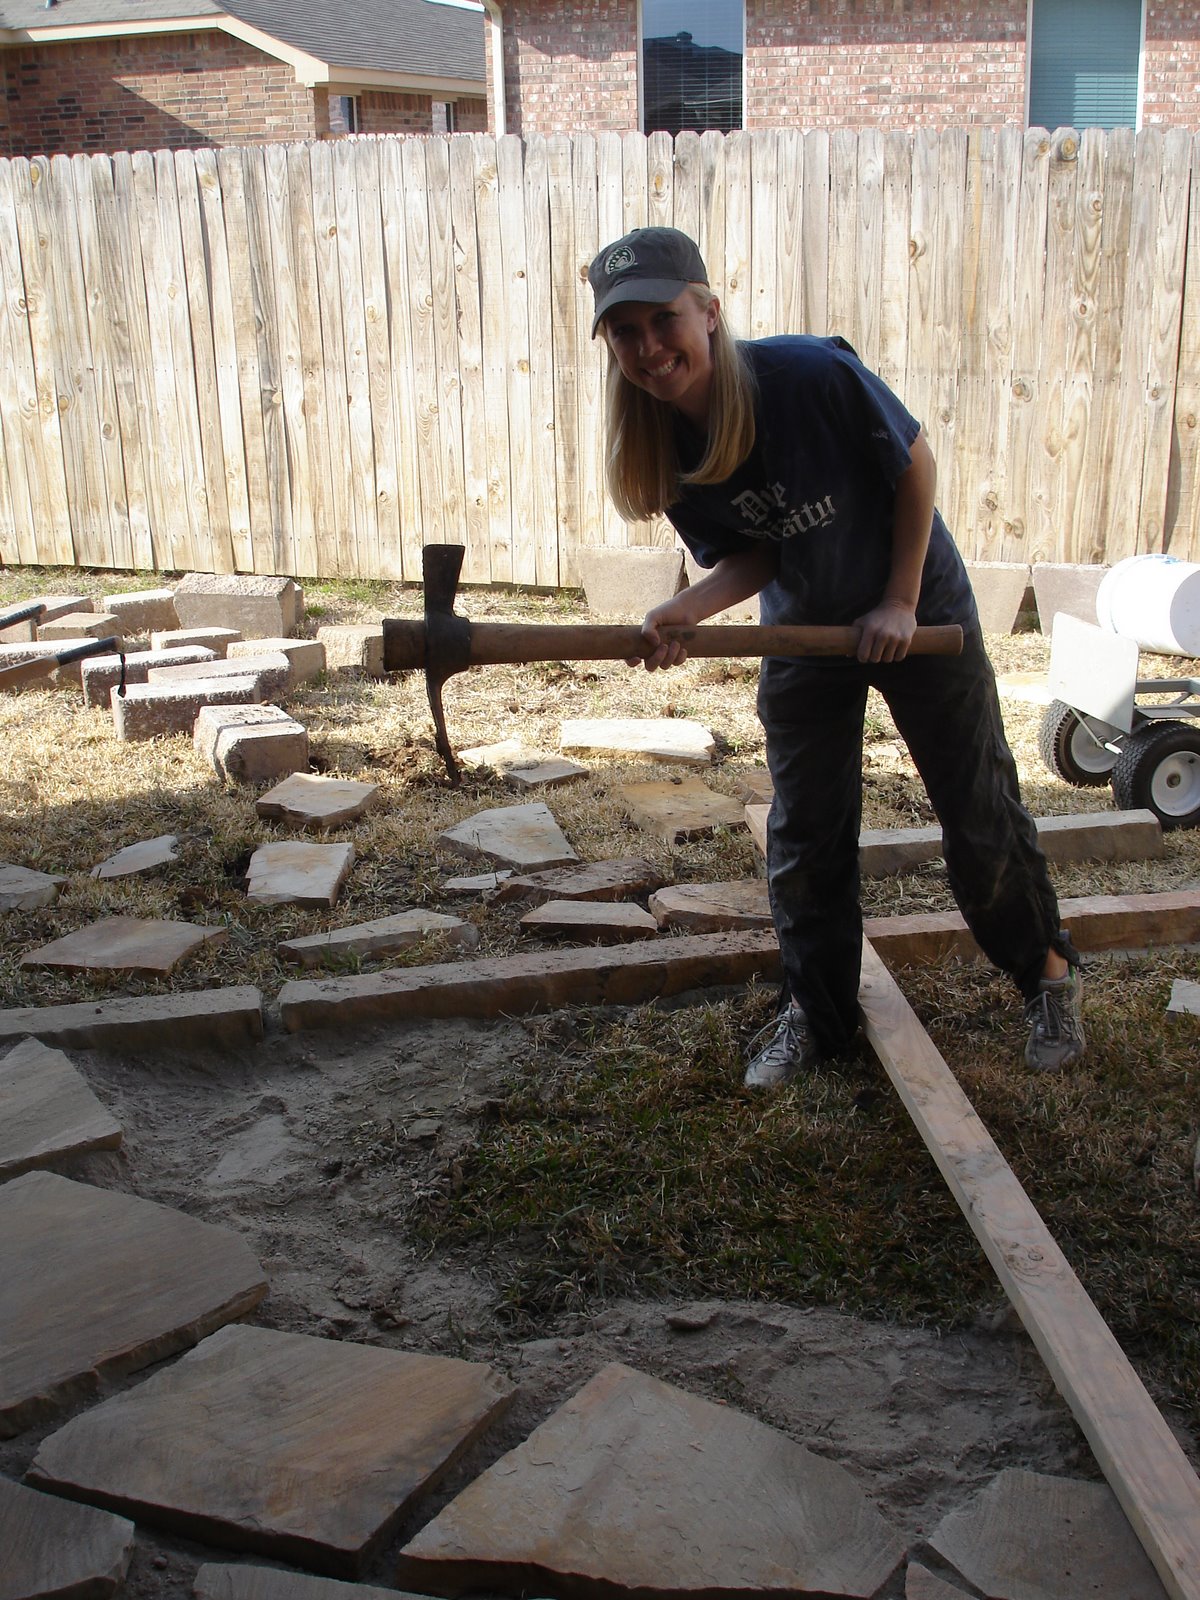
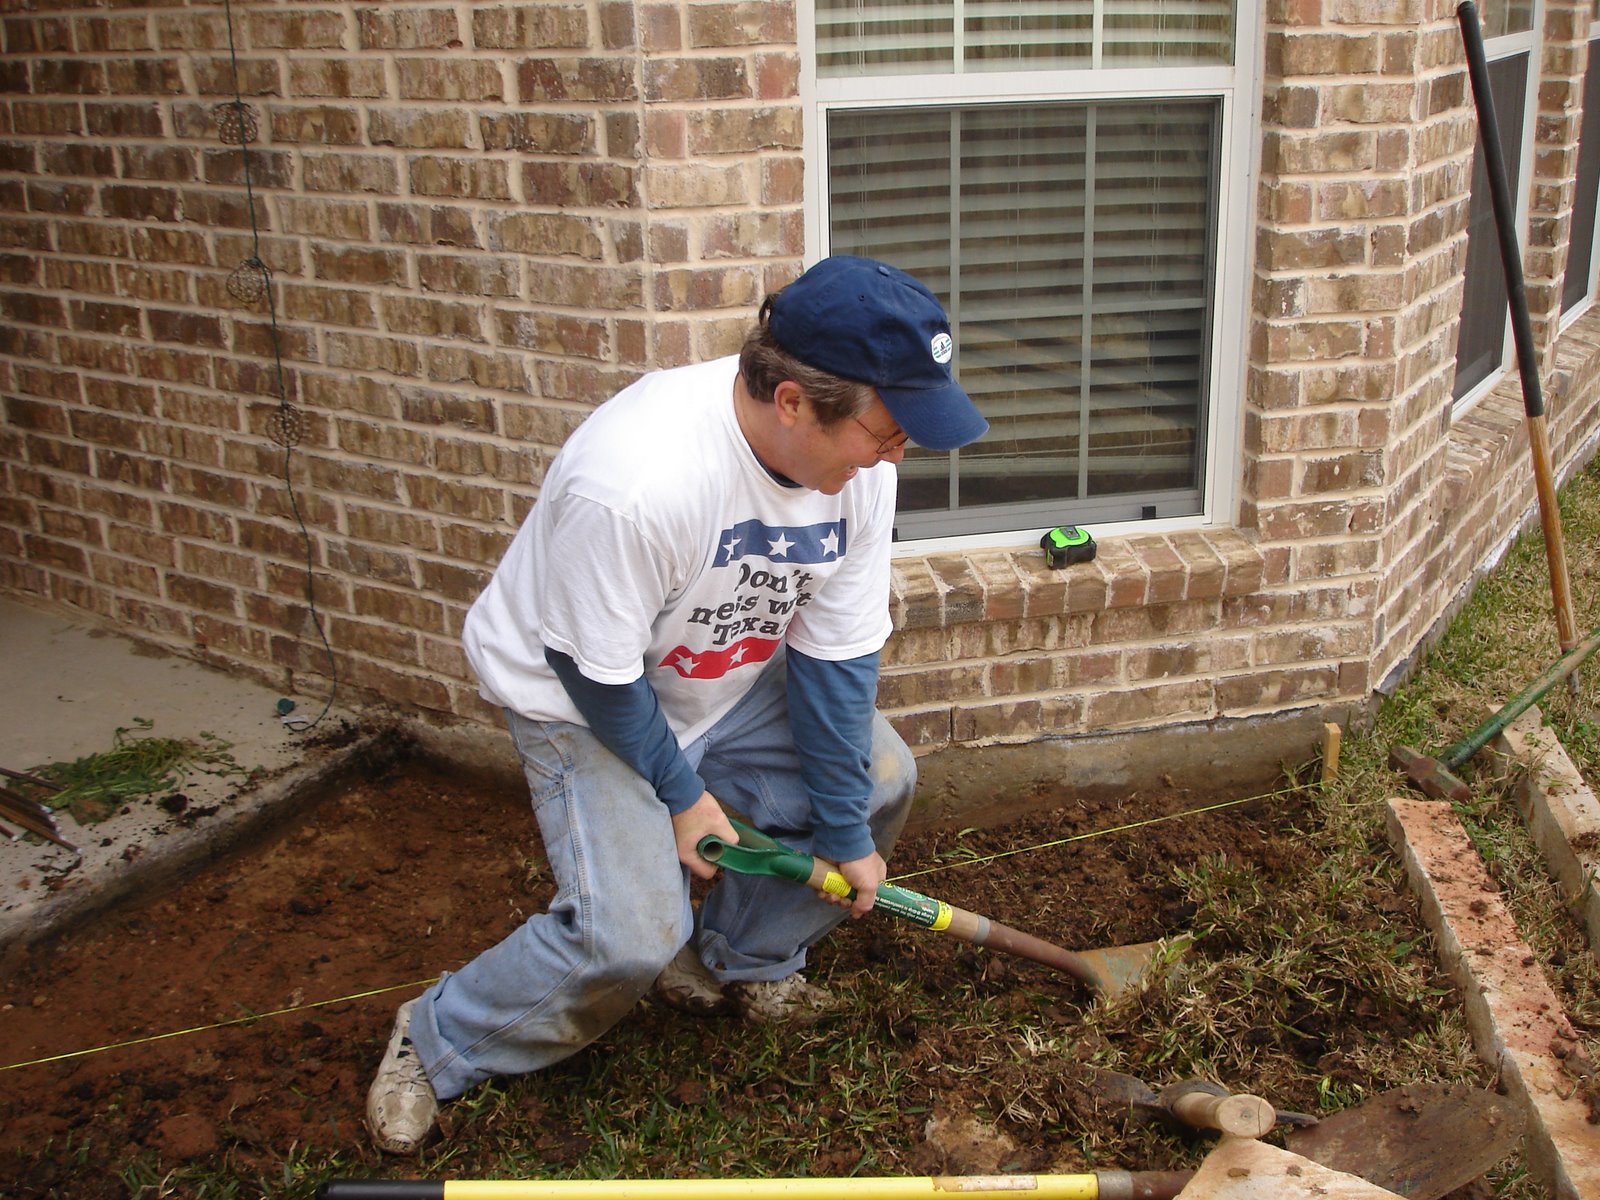
In
March 2008 my dad and I built the stone patio you see closer to the house. Here’s a throw-back picture so you can see our process. Don’t I look sporty holding that… (
um, is that an axe? I’m not really sure what it’s called.)
And as you can see, my sweet dad did a little bit most of the work himself. On that patio I’ve hosted big parties, studied long hours, and enjoyed romantic dinners with that man of mine.
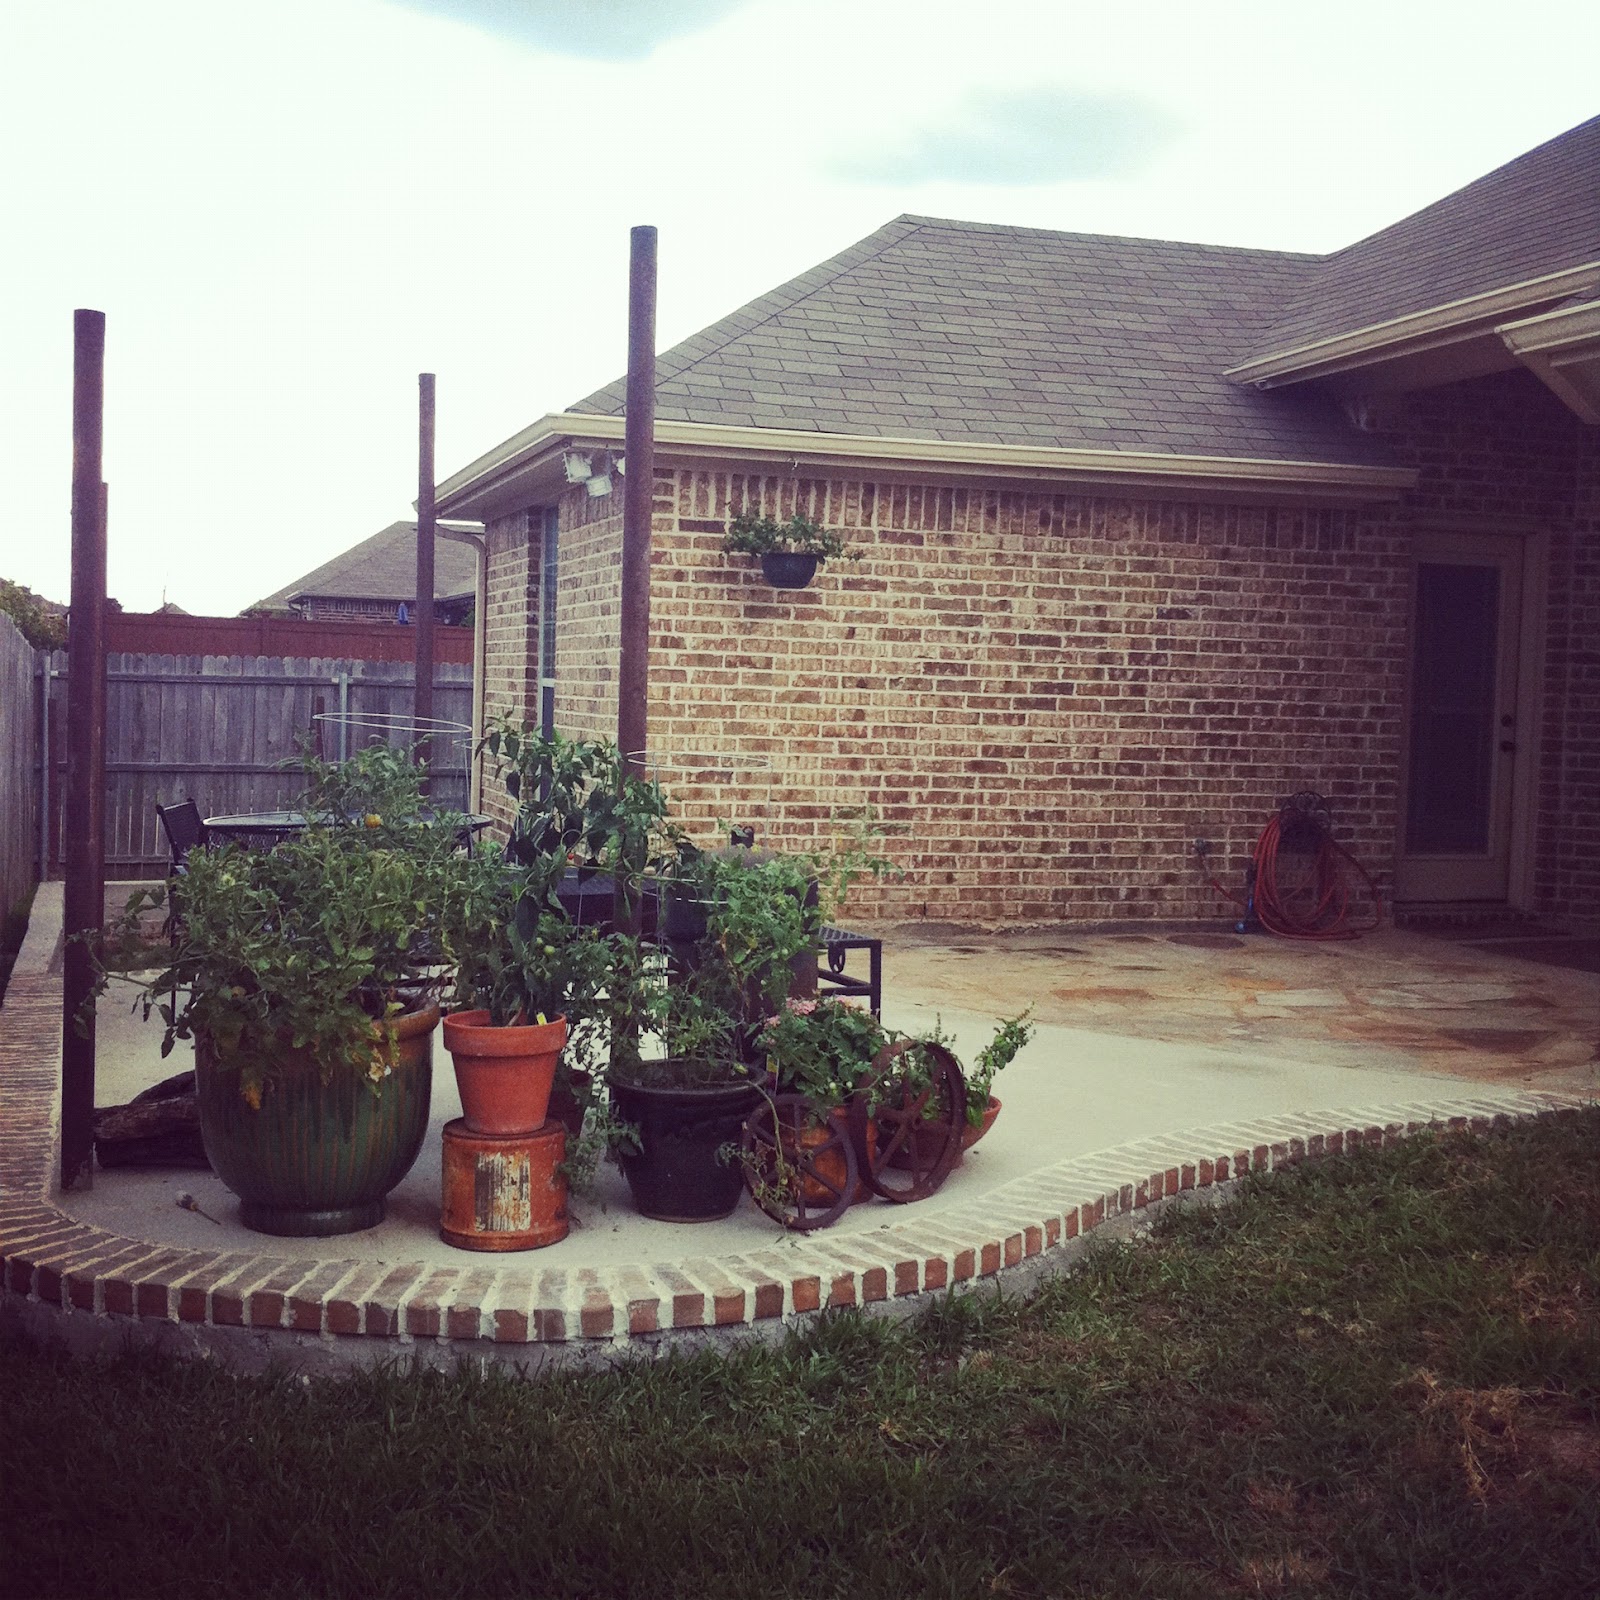
But anyway, fast-forward four years, and we decided that it would be worth it to hire someone to build the patio for us. Mr. Right drew up the plans, marked everything off in the backyard, and then Jesus and his assistant Abraham (I promise I’m not making that up) poured the concrete and laid the bricks, which had been collecting dust in my garage ever since I built my house.
Those poles you see sticking up will soon be a pergola, and we’ll be draping lights between them. I’m a such a sucker for twinkle lights – I will probably sit out there and just gaze at them every night. We’re also going to put in climbing vines on the poles to add some texture and we have some landscaping plans with the yard to the left. I think the goal is to have nothing left to mow when we finish.
The patio furniture has special sentimental meaning – that same table and chairs used to live on Mr. Right’s grandparents’ patio and he he has special memories of sitting on their patio as a child, soaking in all of their stories. We may be adding another larger table, but that one will probably always be our favorite.
My husband surprised me with a sweet love note in the form of my very own vegetable garden, right off the patio and directly in front of my sewing studio window. We have an inside connection with the greatest soil/fertilizer known to man– there’s perks to having in-laws who own cows (unlimited free fertilizer) and a giant compost pile. Of course, I worriedly asked Mr. Right “Are you putting all that compost (ahem… cow poop) in your SUV?”
He just laughed at me. This happens a lot when I ask city slicker questions like that.
Of course not. (I bet you would have wondered the same thing.)
In the meantime I’m busy researching fall vegetable gardens. To my uber cool, livin off the land, vegetable gardening blogosphere friends (ahem,
Stephanie), I welcome any tips for this vegetable planting newbie. Because I really have no idea what I’m doing.
I’ve already christened my porch with a few quiet mornings and evenings spent gazing at our handiwork. Last week, while Mr. Right was working late at the church, I enjoyed a Paleo dinner alone on our patio, where I propped my feet up in a chair, leaned back and enjoyed an episode of
The Bachelorette on my laptop.
It was magical. So was the watermelon. And for the record, that’s low fat chicken sausage. And while we’re clarifying things, I must confess that that’s store-bought zucchini, since my zucchini plants had to be sacrificed to put in the porch.
It was worth it.

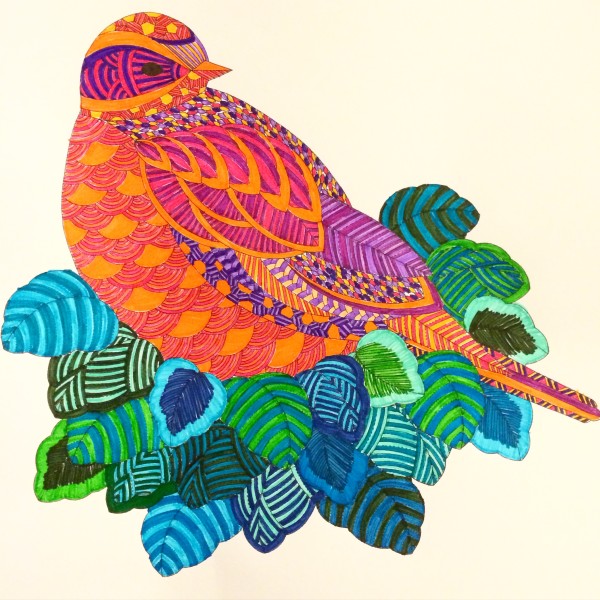
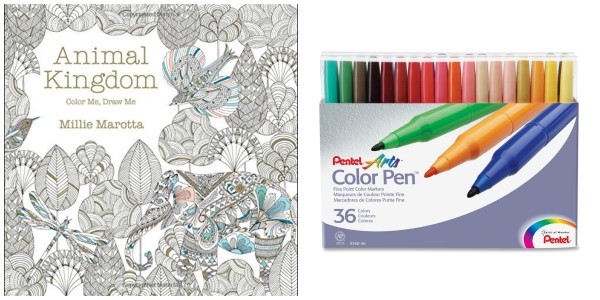
 I joined the adult coloring book craze about a month ago, and I must say, it’s so much fun. I read a few articles saying that coloring is a great way to relax and relieve stress, and since I’m usually a bit, ahem, high strung, I thought this might be something worth trying. It’s really hard for me to just sit on my couch and relax in the evening when there is ALWAYS another chore or project that needs to get done, and it’s impossible for me to watch television without doing something to keep my hands busy. But after a full day of working and mothering and adulting, putting my feet up and doing NOTHING (well, except coloring) is exactly what my overstimulated brain and body needs.