
Have I mentioned that I’m feeling better? To all of you dear friends and readers who have prayed for me and encouraged me through SIX LONG MONTHS OF ROUND THE CLOCK MORNING SICKNESS (bleh), I am pleased to announce that I have been (almost) completely nausea free FOR FOUR WHOLE WEEKS!
This is me doing a happy dance. Which is actually pretty disturbing considering the giant belly bouncing around.
So anyway, now that I’m feeling like a normal person these days (a ginormous normal person with a bowling ball sitting on her lap and a baby whose favorite position is bear hugging her bladder), I have been back to doing things I love. Like quilting. And eating. Lot’s and lot’s of eating, to the shagrin of my OB who all but wagged her finger when she saw that the scale reflected my newfound love of food (did you know food actually TASTES GOOD? I had forgotten.).
But enough of this rambling… I have quilt pictures to share. So back to the point, now that I’m feeling better I was able to reunite with my beloved sewing machine and whip out a new quilt top – not for any specific purpose other than it made me happy and I’ve been hankering to try this pattern.
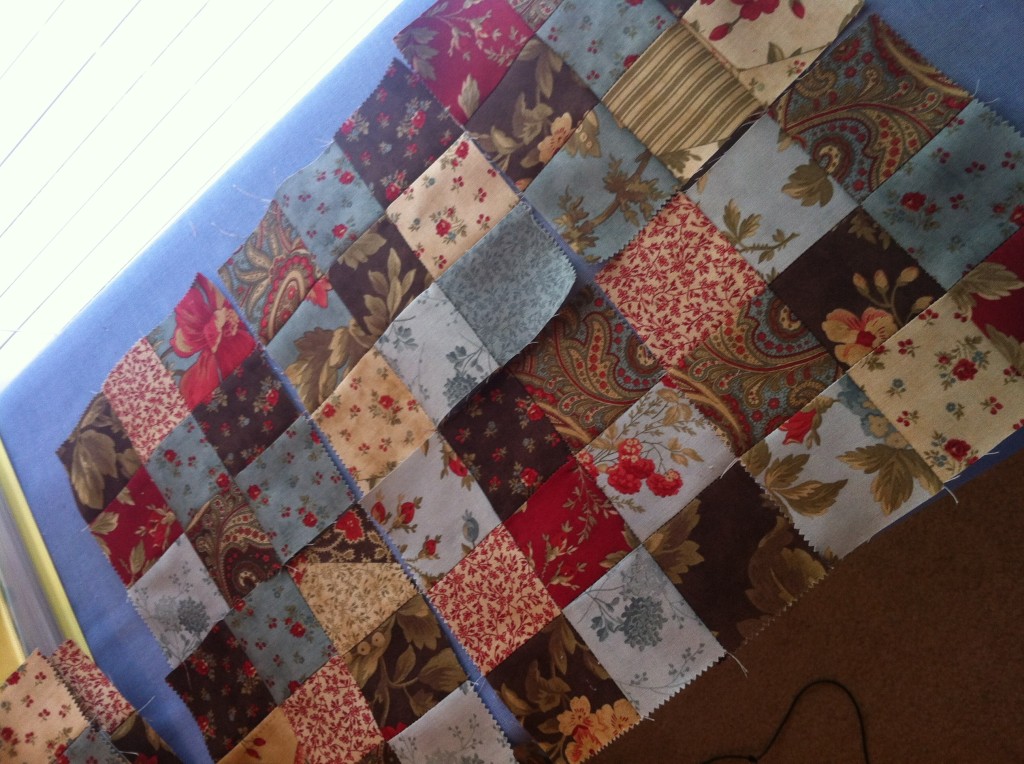
This is called a 9-patch pattern – if you look closely, you can see that even though all the scraps run together, they’re sewn into blocks of nine, and then those blocks are combined to make bigger blocks. I used a moda jelly roll so cutting the squares was super fast (you can also do this pattern by sewing strips and then cutting them, but I was feeling all organic and wanted to do the entire thing from scratch).
This is the perfect pregnant girl quilt pattern, because there IS no pattern. I wanted the overall look to be scrappy and cluttered looking – there’s something comforting in the craziness and unpredictability. Plus, since there’s no pattern, there wasn’t a lot of that obligatory getting up and down off the floor to lay out my pattern over and over as I sew. The only time I laid it out was at the very beginning to figure out how many patches I needed, and at the very end to pin on the border.
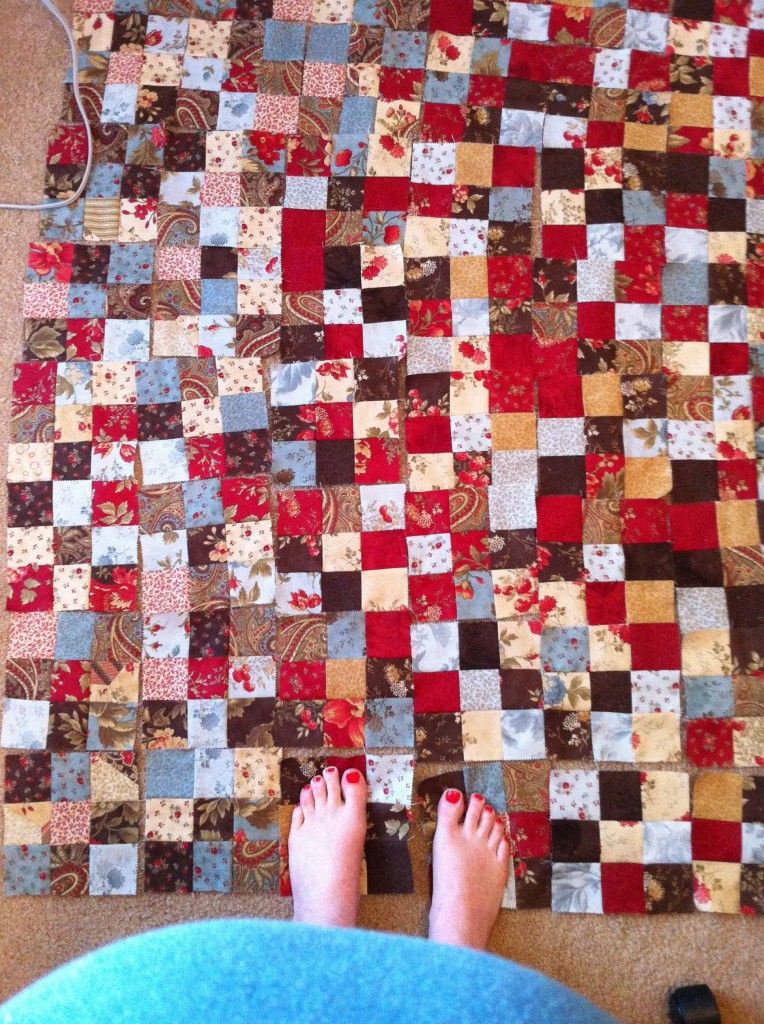 I love this picture because you can see my new view as Wrenn girl grows.
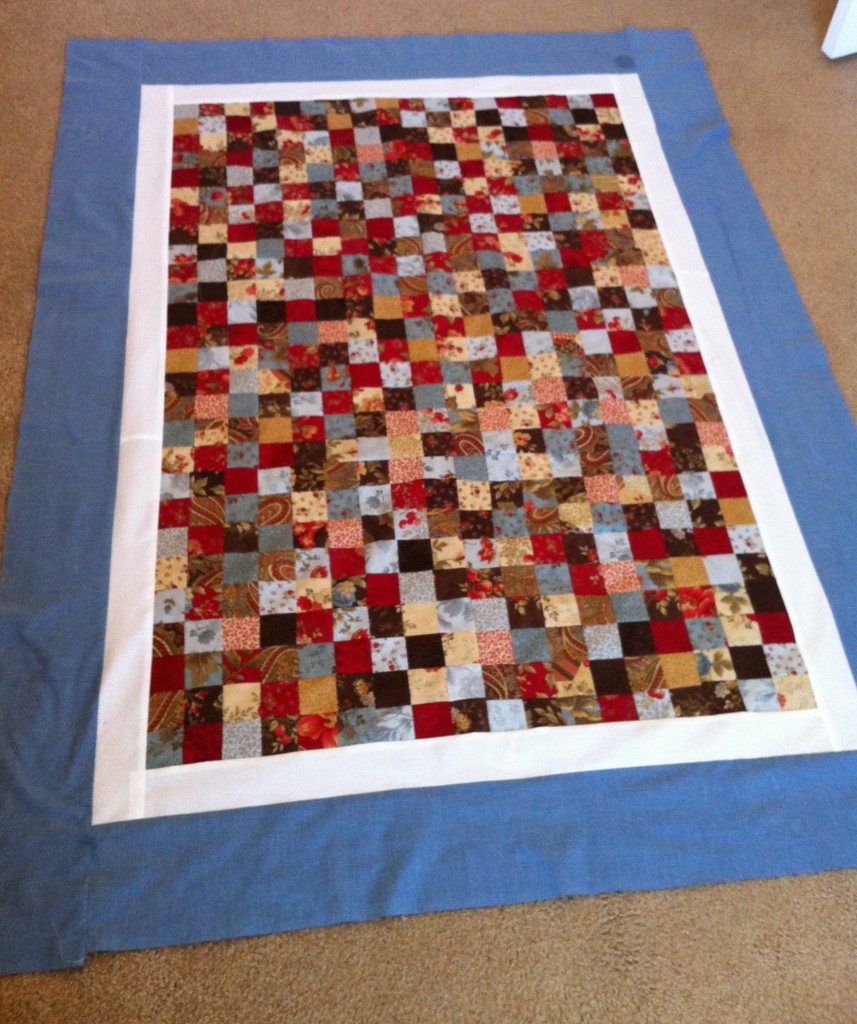 And there’s the final version. It still needs to be quilted, but since it’s for me, it’s going to have to wait until after sweet Wrenn’s quilt is finished. Which I have 11 weeks left to complete (assuming she’s on time). Oh my word, where has the time gone?
Stay tuned for more on her quilt – and her nursery – this week. And pics of our first baby shower. And baby bump pics. It’s going to be a busy week.


